Drywall Sanding Techniques
Sanding is one of the critical steps in a bid to make your walls look elegant. The process is quite tedious and time-consuming. However, if you do it the right way, you will love the outcome.
Applying a joint compound on a poorly sanded drywall can be very frustrating. Here are drywall sanding techniques that you should use to achieve the best results in your DIY project to avoid this nightmare.
Good sanding material and tools
Tools play a big role in any construction project. The better and quality tools you have, the better the results. Therefore, invest in good sandpaper and a hand sander and a sanding sponge for your corners.
You will also need protective gear such as a dust mask and goggles to protect yourself from the adverse effects of direct exposure to dust.
Light pressure on seams
While you should apply substantial pressure on most drywall parts, you should be careful while working on edges and tight seams. Hence use light pressure to avoid fuzzing of the drywall.
Use fine sandpaper
It is indeed very tempting to buy coarse grit sandpaper, hoping that it will make your work easier. However, modern joint compound is soft and requires fine sandpaper for the best outcome. Heavy grit paper leaves unpleasant marks on your surface.
Don’t sand ridges and grooves
Do not attempt to sand large ridges and gouges as it is quite tricky. Instead, apply a layer of joint compound to fill the depression, then trowel for a texture. It is relatively easier to fill the ridge even though it might require many layers.
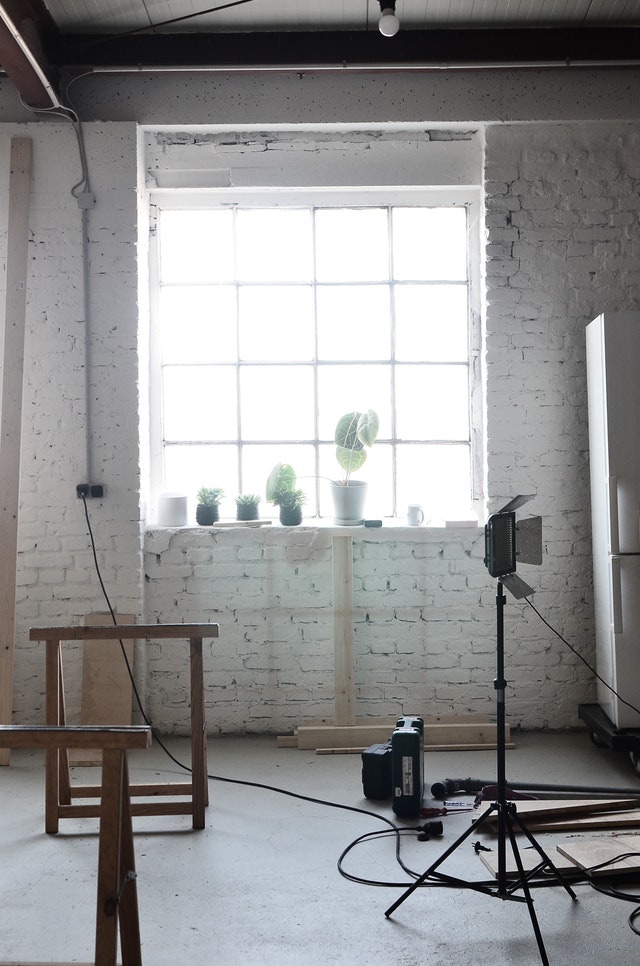
Use extra light to spot a problem
Using a handheld light closer to the drywall helps you notice problems that you would otherwise leave. Sand the areas you have spotted for a smooth finish.
Minimize drywall dust
Once the drywall dust produced from sanding gets on your household, it is hard to eliminate. To reduce the dust, use a damp sponge to smoothen drywall.
Sanding corners
Avoid using sandpaper on your corners. Instead, use a sanding sponge as it does not damage your edges.
While sanding helps in creating bump-free drywall, over sanding may cause more problems on your drywall. Therefore always use the right amount of pressure depending on what surface you are sanding.
For the best drywall finishes in San Jose, Milpitas, and the Bay area, Get in touch with Eastbay Drywall Repair Service via (408) 338-6634 for top-notch services.