Installing Roof

This is an excerpt from the Book called “Roofs & Siding by Des Moines, Iowa. Continue reading to learn more about Installing Roof, thanks to the author.

Installing Other Roofing 

A roof goes a long way toward defining the look of a house, so it’s not surprising to find a variety of great-looking and durable roofing products.  While asphalt shingles are affordable and appropriate for most any climate, the roofing types shown in this chapter offer a wider range of style, color, and durability.  Some will last for 50 years or more. 

Before installing a roofing product other than asphalt shingles, consult with a local supplier, your building department, or a local roofing professional.  Make sure that the product you choose is suitable for your climate and for the slope of your roof.  Some types of roofing, such as slate, tar-and-gravel, and heavy clay tiles, are best installed by professionals. However many newer products, such as cement tiles, metal roofing, modified bitumen EPDM (or rubber) roofing, and wood shakes, are within the reach of a do-it-yourselfer. 

Whatever the roofing material the essential installation principles remain the same.  However be sure you understand how all the components of your chosen material fit together.  There may be special pieces for ridges, hips, and rake ends.  Fasteners and flashings may be material specific as well. 

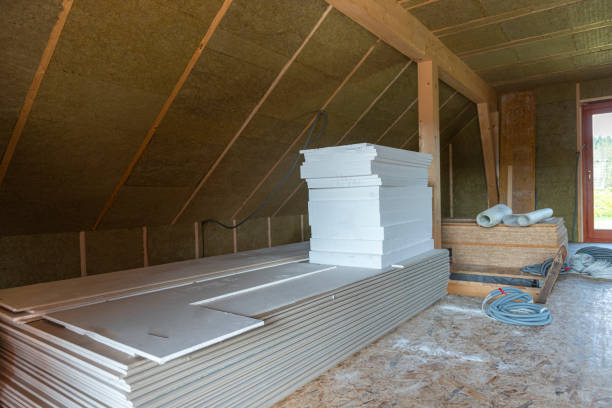
Preparing for these roofs is often sin to preparation for a composition shingle roof.   In most cases the sheathing should be cleared of old roofing and swept clean.  Then apply WSU and/or roofing underlayment.  In some cases new roof can be installed over existing composite shingles. 

Installing Other Roofing

Lay out the roof for cedar shakes, fall tiles, and concrete tiles as you would composition shingles.  For vertical meter roofing and flat roofing sheets (modified bitumen or EPDM), the layout is simples. 

Cedar Shakes 

Wood shingles—which are relatively smooth—are now more commonly installed as siding.  Rough, rustic-looking cedar shakes are the more common choice for roofing.  Shingles and shakes were once typically installed onto “skip” sheeting made of spaced boards, which allowed for air circulation and prevented moisture build up, prolonging the life of the roof.  That method is still commonly used (see below right), but many builders install them onto standard, solid sheathing. 

A shake’s or shingle’s length determines its exposure (the part that is not covered by the shake that rests on top so it).  An 18-inch-long shake should have a 7 1/2-inch exposure; a 24-inch shake has a 10-inch exposure.  Shingles have shorter exposures—for instance a 5 ½-inch exposure for an 18-inch-long shingle. 

Prestart Checklist 

  • Time  

Working with a helper, 3 days to install flashings and roofing for a 700-square-foot roof with modest complications 

  • Tools 

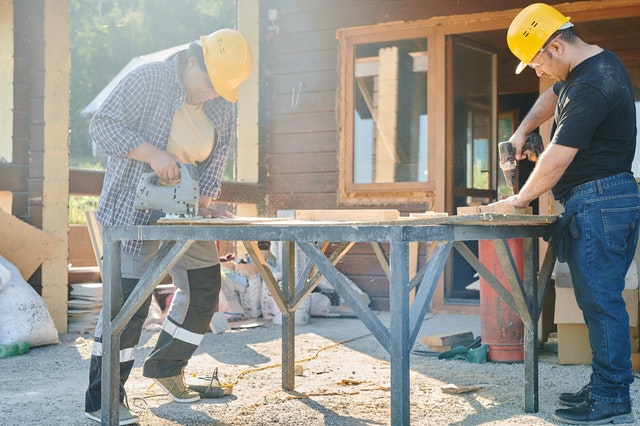
Tape measure, roofer’s hatchet or nail gun, framing square, chalkline, circular saw, jigsaw, flat pry bar, caulk gun, utility knife, tin snips. 

  • Skills 

Basic carpentry. 

  • Prep 

Prepare the sheathing (either skip or solid) and apply WSU and flashings. 

  • Materials 

Shakes or shingles, ridge caps, shake or shingle nails, WSU, roofing felt, interlay strips (for shakes only), flashings for valleys, chimneys, and walls (no drip edge is needed)  

  1. Prepare the sheathing and the underlayment.  Consult your building department for the recommended sheathing and underlayment in your area.  Apply WSU underlayment to the bottom 36 inches of the sheathing (which is solid even if the rest of the sheathing is skip-type).  Allow it underlayment to overhang the sheathing by about ½ inch.  Apply roofing felt or WSU and valley flashings as described on page 40-43.  No drip edge is used for the eaves the rake ends.
  2. Install end shakes and a layout line.  Install a shake, overhanging the sheathing by 1 ½ inches, at each end of the roof section.  Tack a small nail into each and stretch a taut string line between them.
  3. Install the starter course.  The starter course is typically made of shakes that are shorter than regular shakes.  Position the starters so they just barely miss touching the layout line.  Maintain ½-inch gaps between the shakes.
  4. The joints of the first course should be offset from the starter-course joints by at least 1 ½ inches.  Install the ends flush with the bottom of the starter course.  Drive two nails per shake, each about 1 inch from the side and 1 ½ inches above the exposure line.
  5. Ideally a shingle should be cut with a power saw, but you can usually cut a shake by hand.  To use a roofing hatchet, insert the blade at the top, pull down, and twist.  The cut does not have to be perfectly straight.  A block plane (inset) can clean up the split.
  6. Snap two horizontal layout lines, one at the exposure line and a second that is twice the exposure distance.
  7. Roll 18-inch –wide interlay strips over the tops of the shakes, following the upper layout line.  Pull the interlay strip taut so that there are no creases or bubbles.  Fasten with staples driven near the top every foot or so.
  8. Continue installing courses.  Aim to drive the nails just flush with the wood surface do not dimple the wood with the hatchet.  Head or drive the nails below the surface with a power nail.  Avoid the temptation to install more than two nails per shake no matter how wide it is.
Materials
Materials
Make a roofer’s seat
  1. The exposure guide on the hatchet is not long enough for shakes.  To ease marking for chalkline, make a simple guide using a piece of scrap wood notches with the recommended exposer (see the introductory text).
  2. You can install succeeding courses using the layout line, but a nailing guide is quick to install and ensures straight lines.  Tack a long, straight 1×4 or other board against the exposure line and set the next course of shakes against it.
  3. With practice you will learn how to place shakes on the roof so they will be   in easy reach; one approach is shown above.  With a gentler slope bundles can be simply laid on the roof.
  4. To mark for cutting shakes at a valley, hold a 1×4 against the valley flashing center ridge.  (There is no need to widen the gap in the shakes as you proceed down the roof.)  You may have to trim the shake before marking.
  5. Install shakes at a valley using a 1×4 as a spacer. When installing shakes near valley flashing, do not drive nails closer to the center ridge than 12 inches. You will need to drive some nails higher than usual. 
  6. As you near the ridge, measure at several places to see that the courses remain parallel to the ridge.  If the rows are getting off-kilter, snap lines to take out the difference over several courses so that it will not be noticeable.
  7. Roof up to one side of the ridge.  Place the shakes so they run past the peak.  Snap a chalkline about 1 inch below the peak and cut the shakes with a circular saw.  Set the saw’s blade to just barely cut through the shakes s you don’t damage the underlayment or sheathing.  Then attach shakes on the opposite side as shown, again letting them run past the peak.
  8. Strike a chalkline to guide you in cutting the shingles.  Make sure that all the shingles rest flat on the roof and that none protrude past the peak.
  9. Buy ridge cap pieces, which are uniform in width and have bevelled edges.  Hold two pieces of ridge cap in place at each end and mark their edges.  Snap layout lines on each side between the marks.
  10. Align pairs of caps with the layout lines and attach them by driving extra-long nails.  The exposure should be the same as for the rest of the roof—use your notched exposure guide.  Alternate the overlaps of the ridge caps as shown.

Choosing shakes 

The variety of shakes and shingles available varies regionally.  Medium or heavy no. 1 hand-split shakes are the most common.  You can buy pressure-treated shingles with a brownish tint or untreated ones.  (The treatment will have to be reapplied every few years.) 

Make a roofer’s seat 

This handy seat can be used for wood shakes only; it will damage all other types of roofing.  Build the sides and top out of 1/2 –inch or ¾ inch plywood.  Use a level to determine the slope at which to cut the side pieces and attach the top piece.  On the bottom install two 1×6 crosspieces.  Drive 1-inch roofing nails through the 1x6s; they will poke through just enough to grab the shakes and make a stable seat. 

Installing multiple courses 

Installing one whole course at a time is a sure way to success; but the going can be slow and you’ll spend lots of time moving around on your knees.  Once you have the hang of the basic process, you may choose to install multiple courses at once.  Roll out three or more rolls of interlay and slip the shakes under them as you work. 

You meet a vent pipe? 

  1. When you come to a pipe   obstruction, plan ahead so you don’t have narrow pieces on either side.  Cut the lower piece to fit around the pipe with a ¾-omcj gap to allow for expansion. 
  2. Prepare the flashing to fit over the pipe, apply roofing cement to its underside, and install the flashing over the lower row.
  3. Roof over the sides and top of the flashing.  Cut the shakes to fit, again maintaining a ¾-inch gap.  With smaller flashing, you may be able to use one very wide shake.